Augmented Reality with Unity: A Developer's Guide

Augmented Reality (AR) has been a game-changer in the way we interact with the digital world, overlaying computer-generated content onto our view of the real world. Unity, a powerful game development platform, has made it easier for developers to create immersive AR experiences. In this article, we’ll explore how to get started with AR development in Unity, including some code snippets and steps to follow.
Getting Started with AR in Unity
Before diving into the code, you need to set up your development environment. Here’s what you’ll need:
- Unity: Download and install the latest version of Unity Hub and Unity Editor with 3D capabilities.
- AR Foundation: A Unity package that allows for building AR experiences across multiple platforms.
- ARCore (for Android) or ARKit (for iOS): These are platform-specific SDKs required for AR development on Android and iOS, respectively.
-
Setting Up the Project Create a new Unity project and select the 3D template. Once your project is open, you’ll need to import the AR Foundation package along with the ARCore or ARKit package, depending on your target platform. You can do this through the Unity Package Manager.
-
Configuring the AR Session An AR session controls the AR experience. You need to add an ARSession and an ARSessionOrigin to your scene. The ARSessionOrigin contains the ARCamera, which represents the user’s viewpoint. The ARSession manages the lifecycle of the AR experience.
-
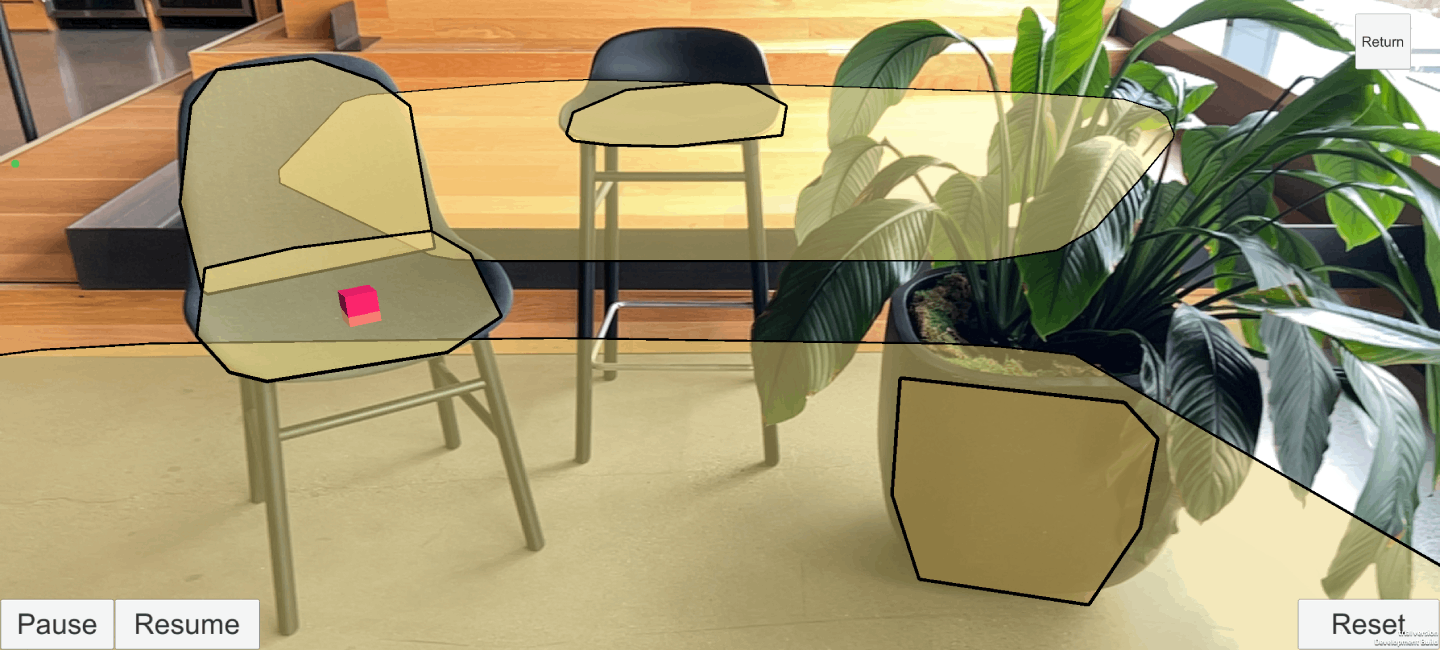
Adding AR Trackables Trackables are the real-world features that ARCore or ARKit can recognize and track. Common trackables include planes, images, and faces. You can also add an ARPointCloudManager to visualize feature points, or an ARTrackedImageManager to recognize and track 2D images.
-
Interacting with the AR World To interact with the AR world, you can place virtual objects on detected planes. Here’s a simple code snippet that instantiates a prefab when the user taps on a detected plane:
1
2
3
4
5
6
7
8
9
10
11
12
13
14
15
16
17
18
19
20
21
22
23
24
25
26
using UnityEngine;
using UnityEngine.XR.ARFoundation;
using UnityEngine.XR.ARSubsystems;

public class PlaceOnPlane : MonoBehaviour
{
    public ARRaycastManager raycastManager;
    public GameObject objectToPlace;

    void Update()
    {
        if (Input.touchCount > 0)
        {
            Touch touch = Input.GetTouch(0);
            if (touch.phase == TouchPhase.Began)
            {
                List<ARRaycastHit> hits = new List<ARRaycastHit>();
                if (raycastManager.Raycast(touch.position, hits, TrackableType.PlaneWithinPolygon))
                {
                    Pose hitPose = hits[0].pose;
                    Instantiate(objectToPlace, hitPose.position, hitPose.rotation);
                }
            }
        }
    }
}
Attach this script to an empty GameObject in your scene and assign the ARRaycastManager and the prefab you want to place.
- Building and Running the App To build your AR app, you need to configure your build settings for either Android or iOS.
For Android:
- Go to File -> Build Settings.
- Select “Android” and click “Switch Platform”.
- Ensure that “ARCore Supported” is checked in the Player settings.
For iOS:
- Go to File -> Build Settings.
- Select “iOS” and click “Switch Platform”.
- Ensure that “Camera Usage Description” is set in the Player settings.
- Finally, connect your device and click “Build And Run” to see your AR app in action.

Conclusion
Augmented Reality development with Unity is an exciting field with endless possibilities. By following the steps outlined in this article and experimenting with the code snippets provided, you can start creating your own AR experiences. Remember to keep up with the latest updates from Unity and AR Foundation, as the technology is rapidly evolving. Happy developing!